User Names, Passwords, and Groups: Basic
Username, passwords and groups together with the additional parameters are managed in 4 tabs:
- Basic: all necessary elements for password management
- Additional: additional specifications, including history
- Dates and Times: expiry and statistics
- Password Policy: specific differences to the default
Most labels in the Basic and Additional Property Pages are Smart Labels.
This means that when you click on them, the current contents of the relevant field
are copied to the clipboard. The label will flash green to show that the data has
been copied. The current smart labels are:
- Basic
- Group
- Title
- Username
- Password
- URL
- Email
- Notes
- Additional
- AutoType
- Run Command
Note: By pressing the Ctrl key down whilst clicking on the AutoType and Run Command
labels, variables will not be substituted in the strings before copying to the clipboard.
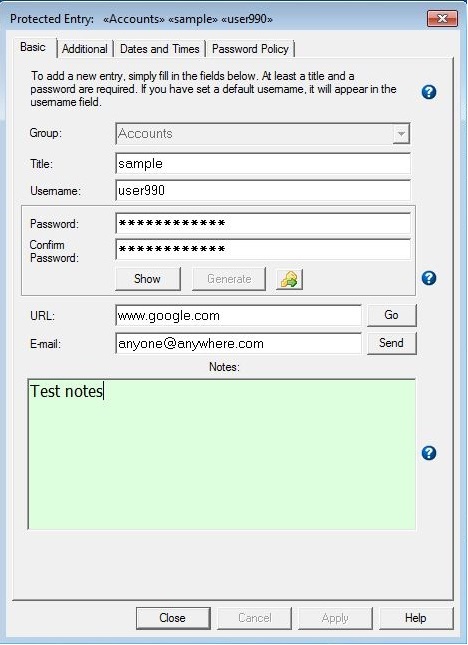
Basic Tab
This tab has the most important and commonly used elements.
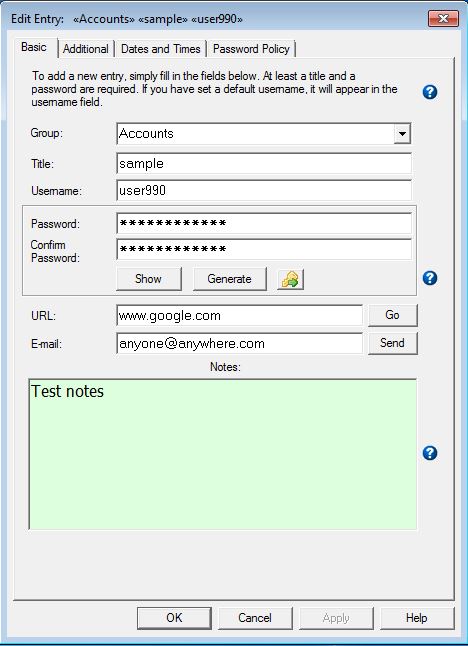
The following bits of information are associated with each
password entry:
- Group: A name for grouping (organizing) several related entries
- Title: A friendly name for a password entry
- User name: The user name
- Password: The password
- URL: The URL (website) associated with this entry
- Email: An email address associated with this entry
- Notes: Free-form general notes
Only the Title and Password fields are required; all others are optional.
- Clicking on the
 button will copy the password to the clipboard.
- A grey Authentication Code button (
 ) indicates that no Authentication Secret has been set for this entry (see Additional Tab).
When an Authentication Secret is set, the button is enabled and animated, and the current Authentication Code may be displayed by clicking on the window that appears to the right of the button:
- Clicking on the animated Authenticated Code button (
 ) will copy the current Authentication Code (6 digit value) to the clipboard.
The value changes every 30 seconds, and the clipboard will be updated accordingly until either the database is locked or something else is placed on the clipboard.
) will copy the current Authentication Code (6 digit value) to the clipboard.
The value changes every 30 seconds, and the clipboard will be updated accordingly until either the database is locked or something else is placed on the clipboard.
The Notes field is intended for short texts, and is
limited to 30,000 characters. Whilst it is possible to add more than this limit when the entry is added,
warnings will be issued when the database is re-opened. The Notes field will be truncated
to this limit if the entry is edited. However, if the entry is protected or the database is opened
in read-only mode, then it can be viewed without any truncation.
The Notes field contents may be edited using an external editor by
right-clicking on the field. Note however, that the contents will saved
temporarily on disk in clear text. In addition, some external editors will
use an existing instance to edit the temporary text file and this will cause
Password Safe to immediately return leaving the data unchanged even though
the temporary text file is still available in the external editor. If the external
editor supports it, it is possible to specify command line parameters to force a
new instance for editing the Notes field to prevent this (for example: "-multiInst"
for the Notepad++ editor).
See "Manage → Options → Misc.".
If you do specify command line parameters, do not enclose them in quotes unless your
chosen external editor requires them. The value you specify will be used as-is
with no changes.
In addition, the following fields may be set in this tab:
- URL: The URL associated with the entry. If this field is not empty, then the "Go" button
is enabled. If the protocol is not specified, then "http://" is assumed
(e.g., "www.foo.net" is the same as "http://www.foo.net"). Clicking on the Go button to the right
of the URL field will open the default browser on the specified URL. Clicking with the Control key
pressed (Ctrl+Click) will, in addition, invoke the AutoType
function on the opened browser page. See the following notes
for more information.
- email: The email address associated with this entry. Note
that this is meant for keeping an e-mail address associated with the
site, e.g., support@myvendor.com. If the site requires an e-mail
address as your login, it's much easier to set your email address in
the Username field.
If this field is not empty, then the "Send" button is enabled. Clicking on this button will
invoke the default mail program with the To: field set to the specified address.
See the following notes
for more options.
A few details about URL handling:
- By default, Password Safe will use the browser that your
PC usually opens web pages with. If desired, you can specify an
alternate browser by
putting '[alt]' before the URL, e.g., "[alt]http://www.foo.net". This
is useful, for example, if your default browser is Firefox, and you
wish to access a website that works best with Chrome. To
configure an alternate browser, use the
"Manage → Options → Misc." dialog box.
- If '{alt}' is put before the URL, then it is passed
'as-is' to the alternate browser, that is, without adding 'http://' if
no protocol is specified. This is useful if the alternate browser is a
remote access application, e.g., an SSH client. [ssh] will achieve the
same effect.
- If '[autotype]' is found before the URL, then after the
URL has been displayed/actioned, Password Safe then performs the AutoType
action using this entry's AutoType field, or the default value if not
specified.
The email address is according to the standard rules (per RFC 2368):
- Open the database where you wish to place the new entry
- From the Edit menu, select Add Entry
- Enter information into the Edit/View Entry dialog fields as necessary
Note: If a Group name is selected and then a new entry added,
that entry will have that Group name prefilled in the Edit/View Entry dialog.
If a name of a new group is added to the Group field, that Group will
be created.
If you wish, you can enter your own password into the password
field manually, or you can have Password Safe generate a new one
using the current Password Policy.
To have Password Safe generate a password, just click on Generate
in the Edit/View Entry dialog. If you're unhappy with the result,
you can click on Generate again, or edit the password manually.
Note: If you're using a "single sign-on" system that allows
you to share the same password across different machines/servers/applications,
etc. you can setup Password Safe entries accordingly, so that changing
one password affects all other related entries. This is called "aliasing"
entries, and is explained in detail here.
Editing Existing Entries
- Select the entry to edit from the list
- Select Edit/View Entry from the Edit menu
Editing Existing Entries via the Tree View
- Select the entry to edit from the list then:
- Select Edit/View Entry from the Edit menu OR
- Right-click on the entry and select Edit/View Entry
from the context menu
- You can change the fields that are displayed in the tree view
directly. To do so:
- Right-click on a group and select Rename Group from the
context menu OR
- Press the shortcut key to rename (default F2) and overtype the
displayed text (format is "title [username] {password}").
Notes:
- By default, usernames and passwords are not displayed in the Tree View. Displaying
the username and the password are controlled by preferences (see:
Display Tab). They work in a hierarchy i.e. passwords can
only be displayed if usernames are displayed.
- Also by default, passwords are obscured when editing the entry. To see
the password associated with the entry click Show Password when editing it.
- The title and password are the only mandatory fields for an entry. Therefore, if
they are omitted during rename, they will retain their previous values.
However, you may clear the username field, as long as it is being displayed,
by entering "[]" during the rename implying an empty value.
- Since square and curly brackets are used to delimit the username and password,
it is NOT possible to rename an entry in place (e.g. using F2) if the title, username
(if displayed) or password (if displayed) contain any of these characters. Instead, you must
Edit the entry either via the Edit menu or by the right-click context menu as indicated
above.
Add a New Group via Tree View
- Select Add Group from the Edit menu
- Enter the Group name
Edit a Group Name
- Right-click on the group and select Rename Group
from the context menu or
- Select the group and press the shortcut to rename (default F2) and overtype the
group name.
Notes:
- Group names can be "nested" i.e. placing a group name within/under another group name.
- A group cannot be renamed to multiple groups through the Rename Group menu item or
shortcut, i.e., group "a" cannot be renamed to "x.y".
Protected Entries
If the entry is protected, you will not be able to change any fields until you unprotect
the entry via the Edit menu or right-click context menu.